After having a few attempts of using my drawn character designs, I decided i wasn't impressed with the outcome. The lighting never seemed right which meant my drawings we all dull and not as bright and vibrant as i had in my head! Looks like stop motion isn't the one for me...
I then went on to scan in all my drawings and see what i could create on Adobe Illustrator.

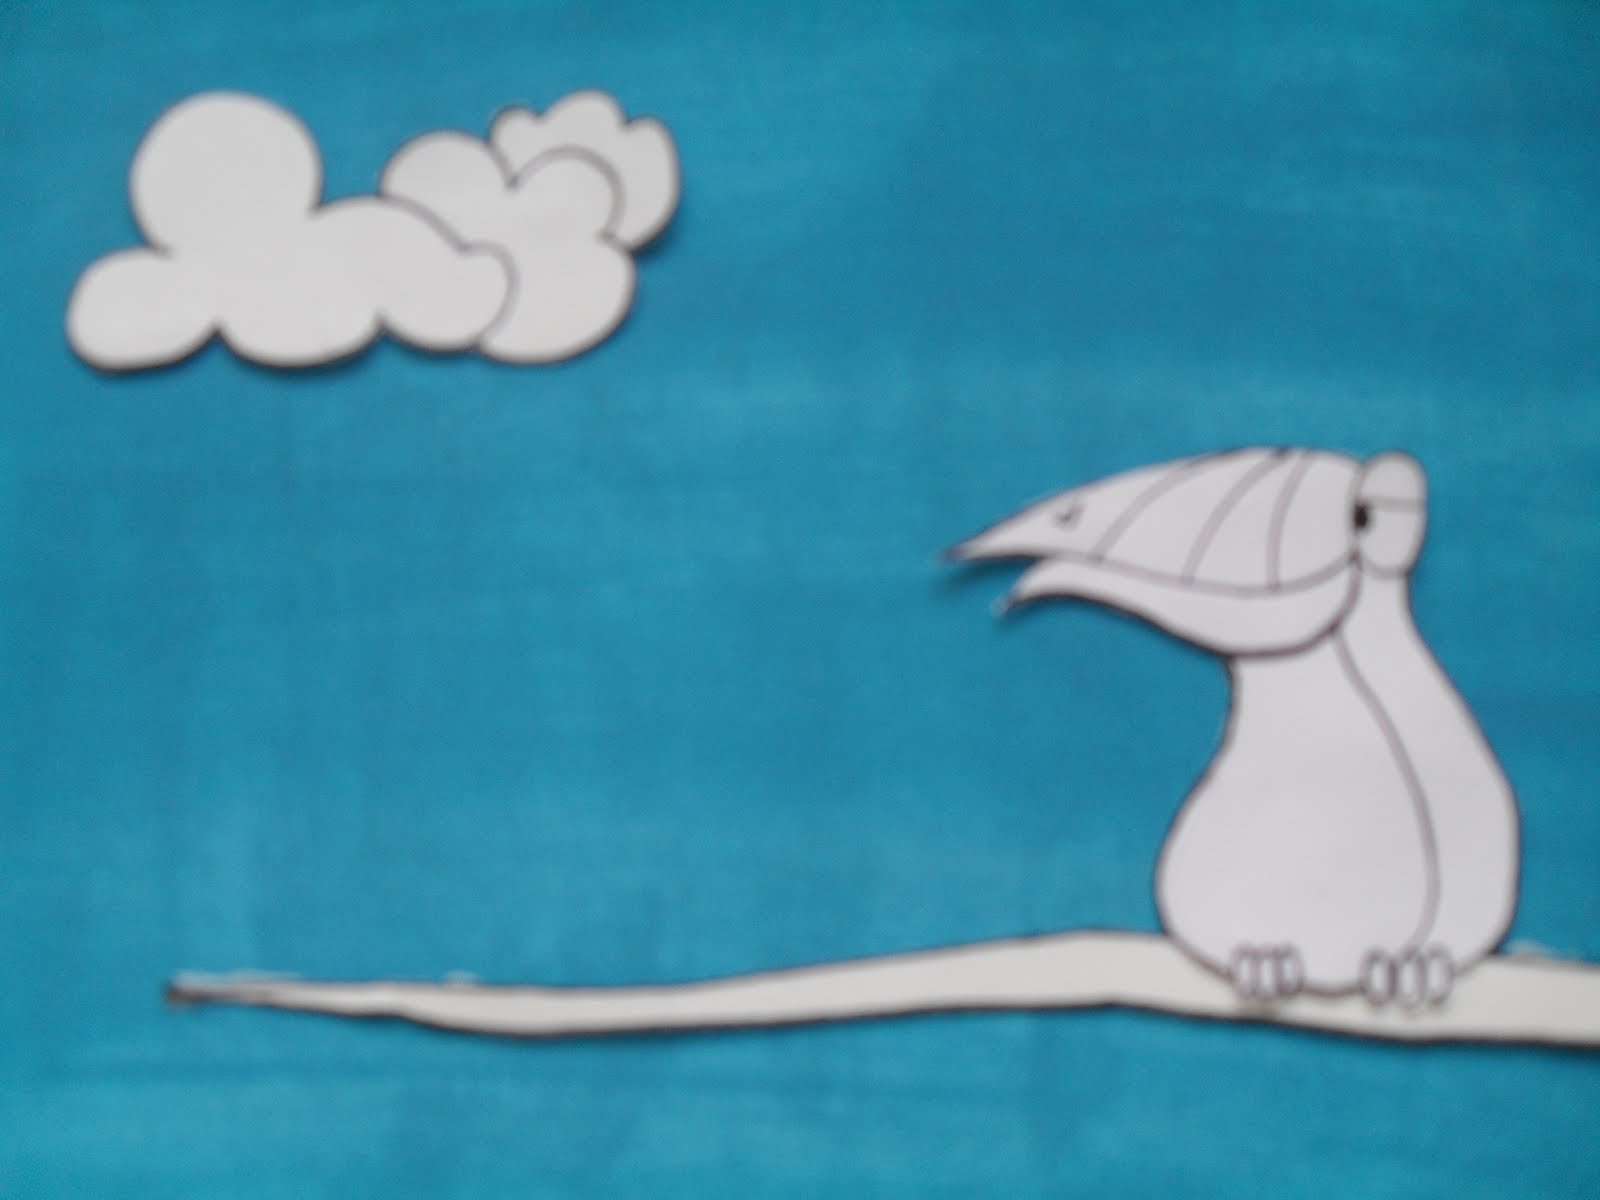
Here is an example of the toucan with its wings down, to create this character i simply scanned in all my hand drawn images and opened them with Illustrator. I then went on to create a second layer in which i could begin to draw over my hand drawn image. Each character was drawn with the pen tool at a thickness of 1 pt.
I then went on to transfer all my hand drawn images into Photoshop so i could then add colour. I wanted each slide to be bright and vibrant so to create this i used only block colours. I believe this worked well to created my desired effect.

Here is an example of the colours and layout i used for each slide, i have decided to keep the colours similar throughout. This is to avoid confusion and keep the animation simple, as i learnt the more thing you alter the harder it is for your animation to run smoothly!
I really liked the effect that has been created by using both Illustrator and Photoshop, i think it looks very clean cut and will (hopefully) be the making for a effective animation.
I then went on to colour each slide in detail...
No comments:
Post a Comment